Notifications
Clear all

Topic starter
A pair of Hornady Pro-Jectors. Tried to sell them, auction, classifieds - nobody was interested. Clamped them to a bench-top in a corner, covered them, and there they sat.
Couple weeks ago I was prepping a batch of brass in single stage fashion, looked at the retired old Pro-Jectors and had an idea.
My target rifles are either 308 boltface, or magnum. I have shellplates for both. One press is setup for large primers, one for small, so I made a large primer seating stem and primer holder from a small bolt with the correct thread, and a fired .22 LR case. I pressed a 5mm bolt shank into the cut .22 case, and after springback, it fits a large primer perfectly.
And it works.
Then I put the sizing dies in the presses to set headspace, brought out the rifles, some fired brass, and found that with both setups, the sizing dies contacted the shellplate before the required sizing was reached.
First issue is the shellplates have a higher deck than a single stage shellholder, which interferes with the die, preventing the correct headspace being reached on full length sizing by only a few thou.
I delivered the dies to a machinist to take 0.5mm off the bottom of each die.
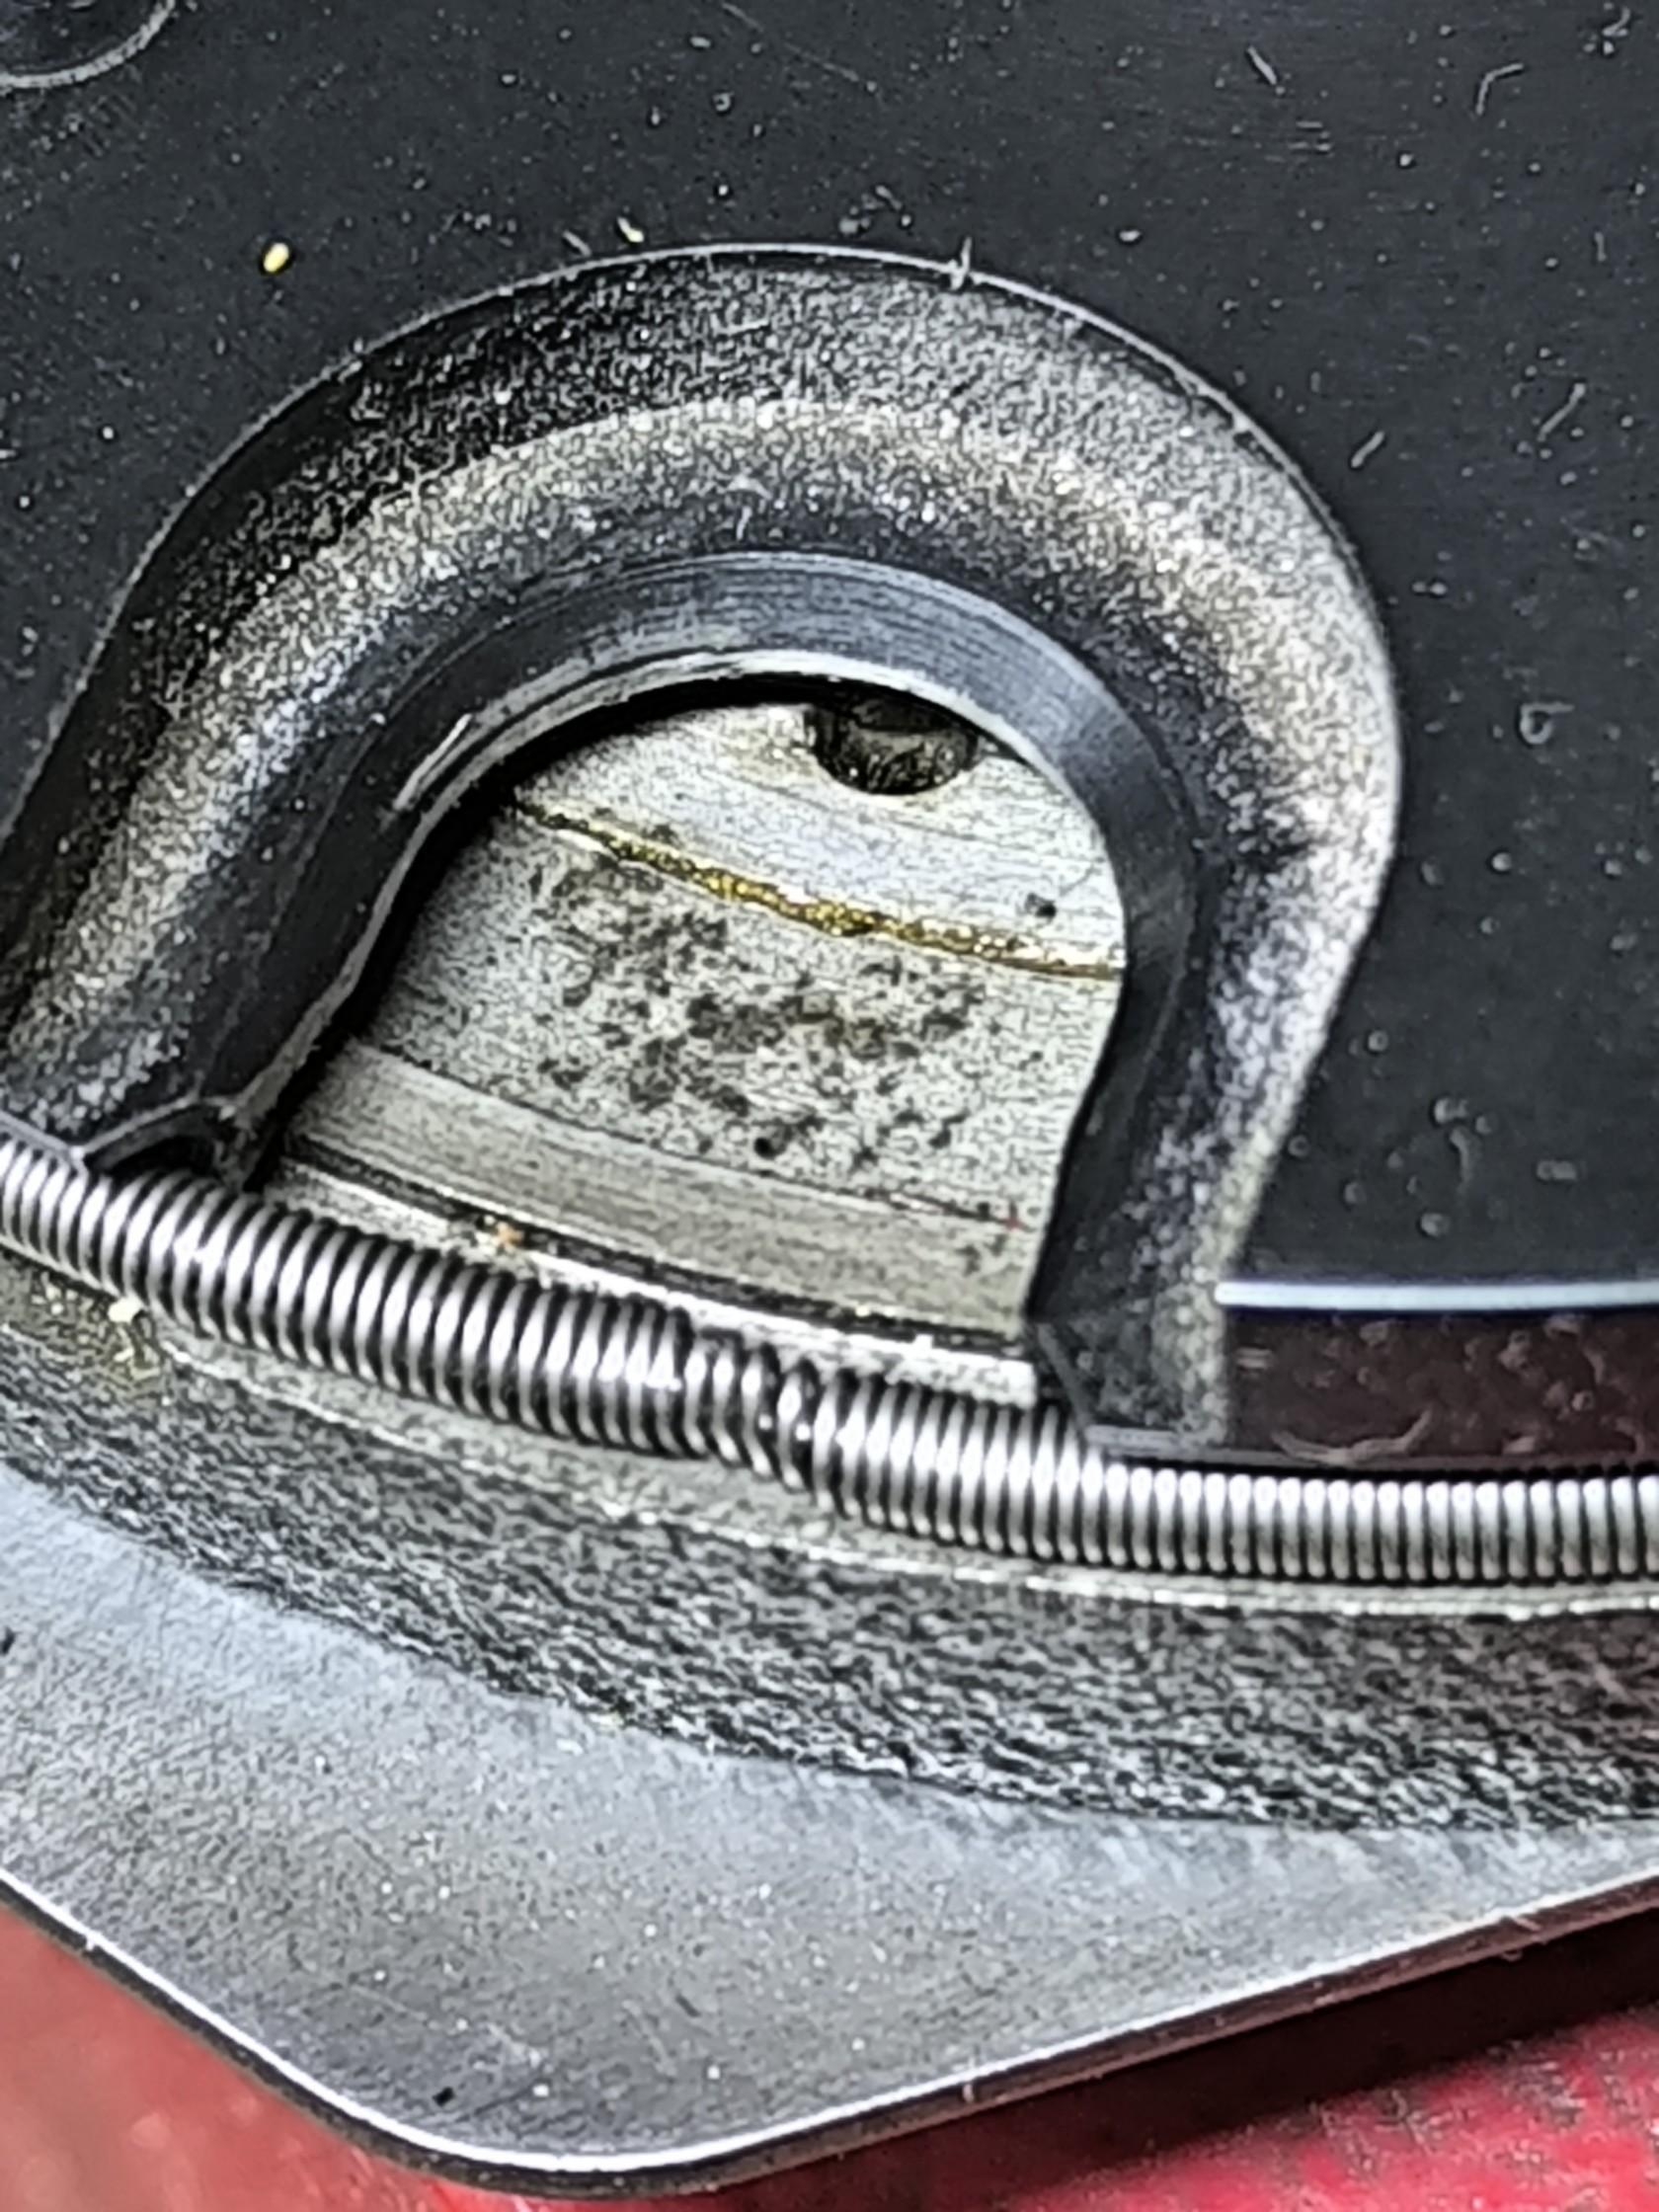
Second issue was one case holder recess on the shellplate was a bit smaller than the others, so my belted cases were not fitting, even though they fit in a single stage shellholder.
This I rectified slowly and carefully with a dremel tool. One light pass at a time with a grinding bit, followed by a polish, till the handful of fired cases all fit into every recess on the shellplate.
What makes these old presses very suitable for working with rifle brass, is the strength built into them.
1. the shellplate carrier is connected directly to the bolt in the center of the ram, no drive hub to bind up or break
2. the shellplate carrier is machined from a block of steel, there is no flex against the ram when sizing rifle brass
3. there is no ejector nub on the shellplate carrier to wear down and bind the press on ejection
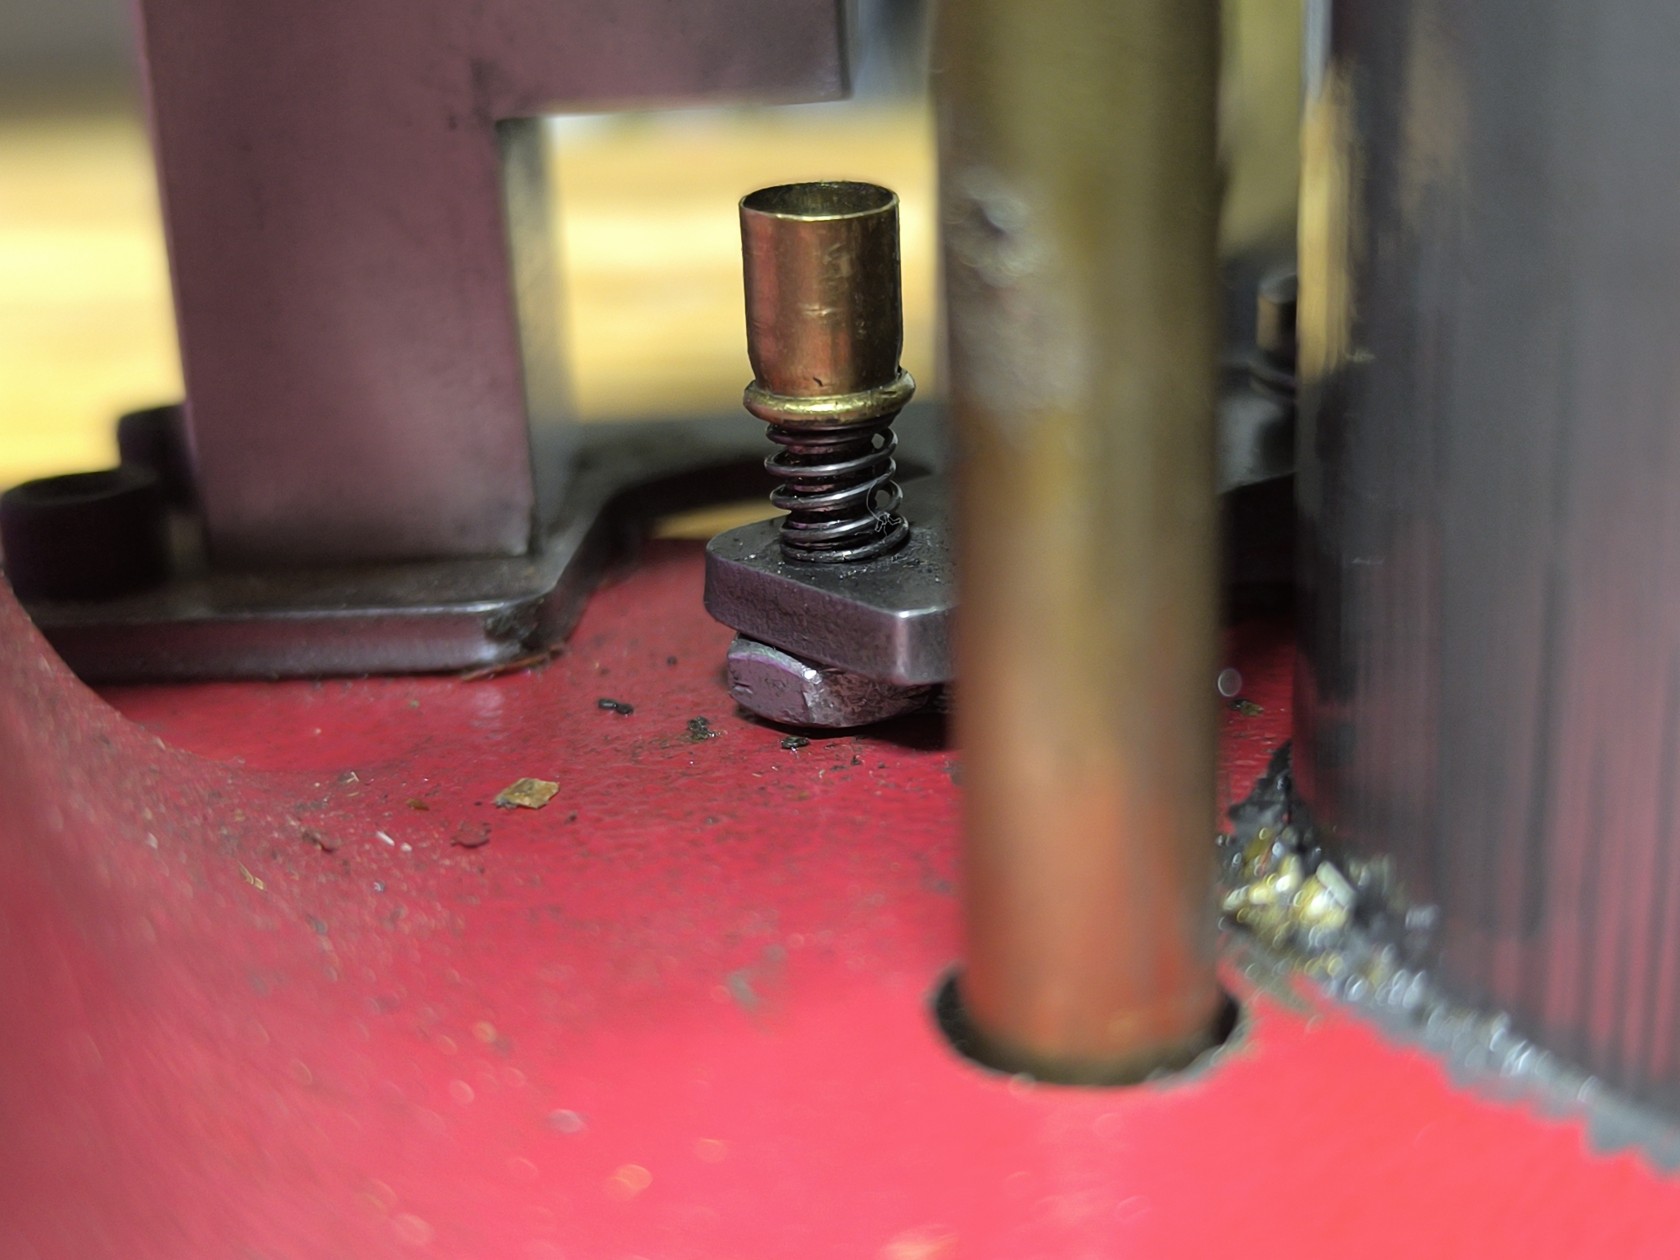
4. the primer punch is threaded, with a locking nut, for repeatable primer seating depth control
The downside is the complexity of setting up the priming system. Several parts have to be correctly aligned and bolted into place exactly for priming to function correctly.
The LnL is far superior in it's simplicity and ease of priming setup, but not as robust. If any powder gets into the LnL primer punch assembly, the press binds up and parts can break. This older press design remains operationally unaffected by powder spills.
The idea is to deprime, full length size, prime and neck madrel in progressive mode. 100 pulls on the handle compared to 400 for every 100 pieces of brass on a single stage.
I've matched my neck trimming mandrels to the neck expanding mandrels, so can take a fully prepped, neck sized brass off the press and trim it without having to resize the neck a second time.
I'll be doing a test run when I get the dies back.
Posted : 03/11/2025 3:31 am
Do you perhaps have any photos of this work?
Posted : 03/11/2025 10:35 pm
Do you perhaps have any photos of this work?
Very interested to see too.
Posted : 03/11/2025 10:48 pm
Topic starter
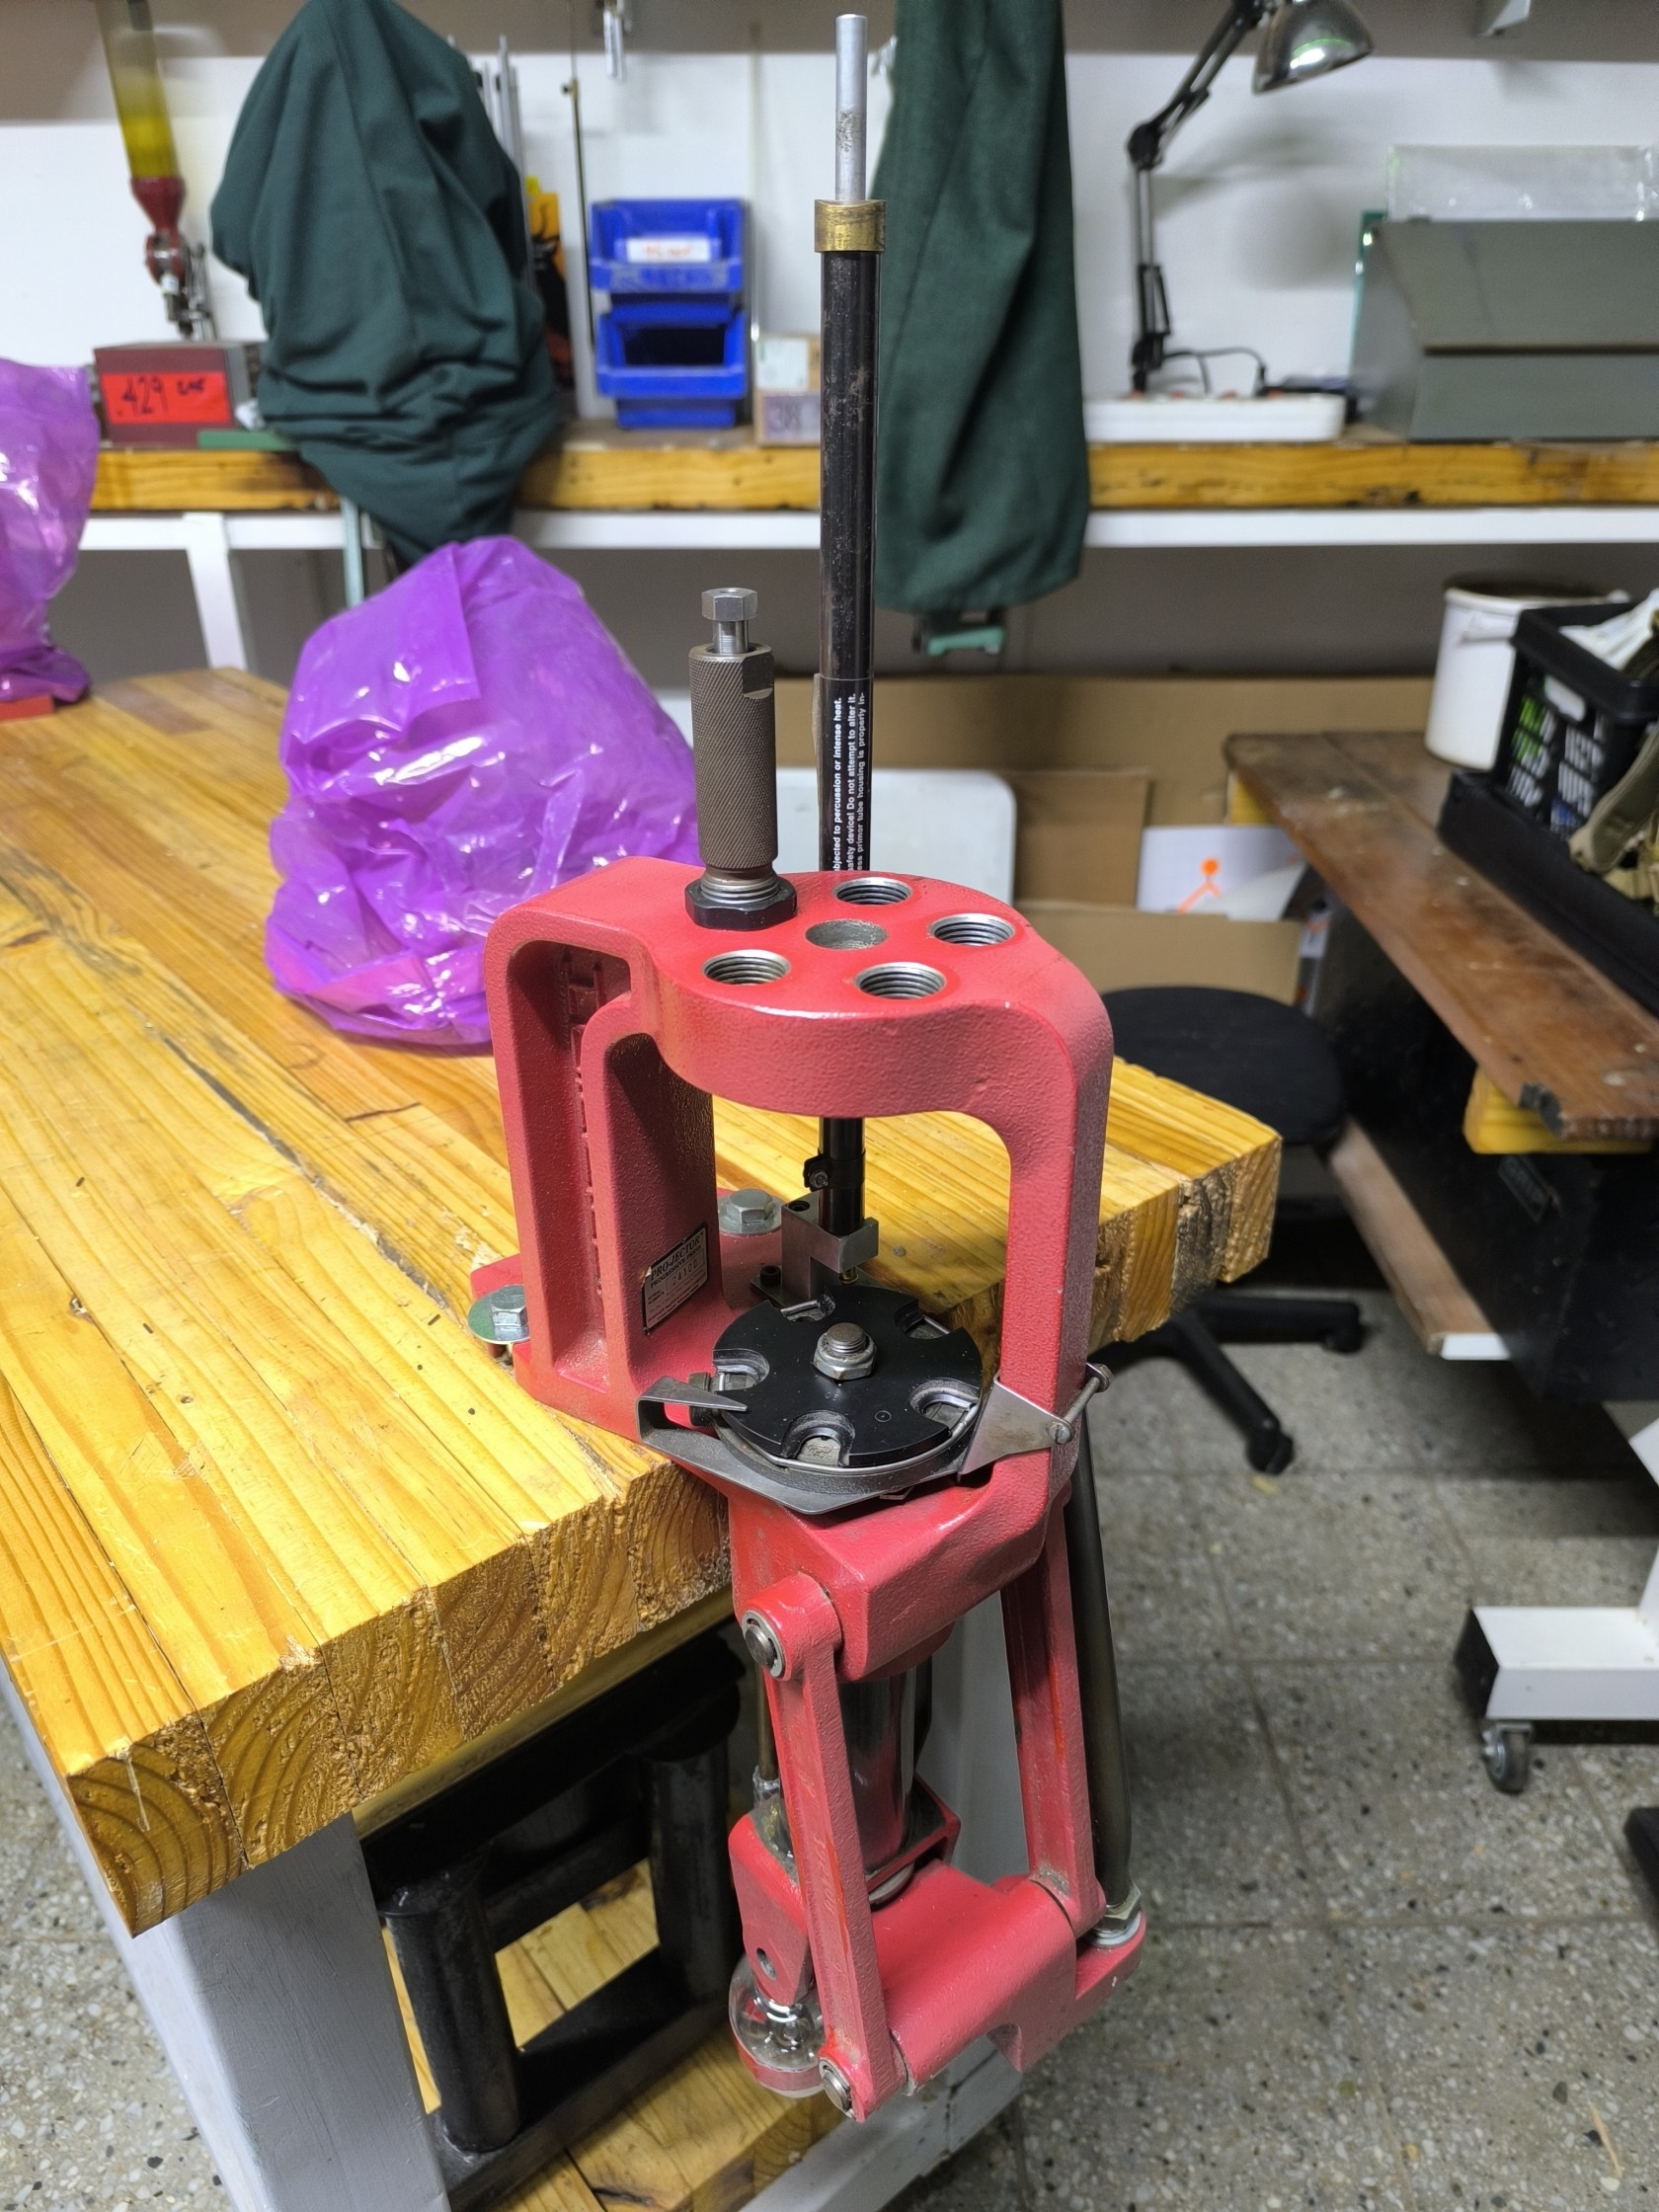
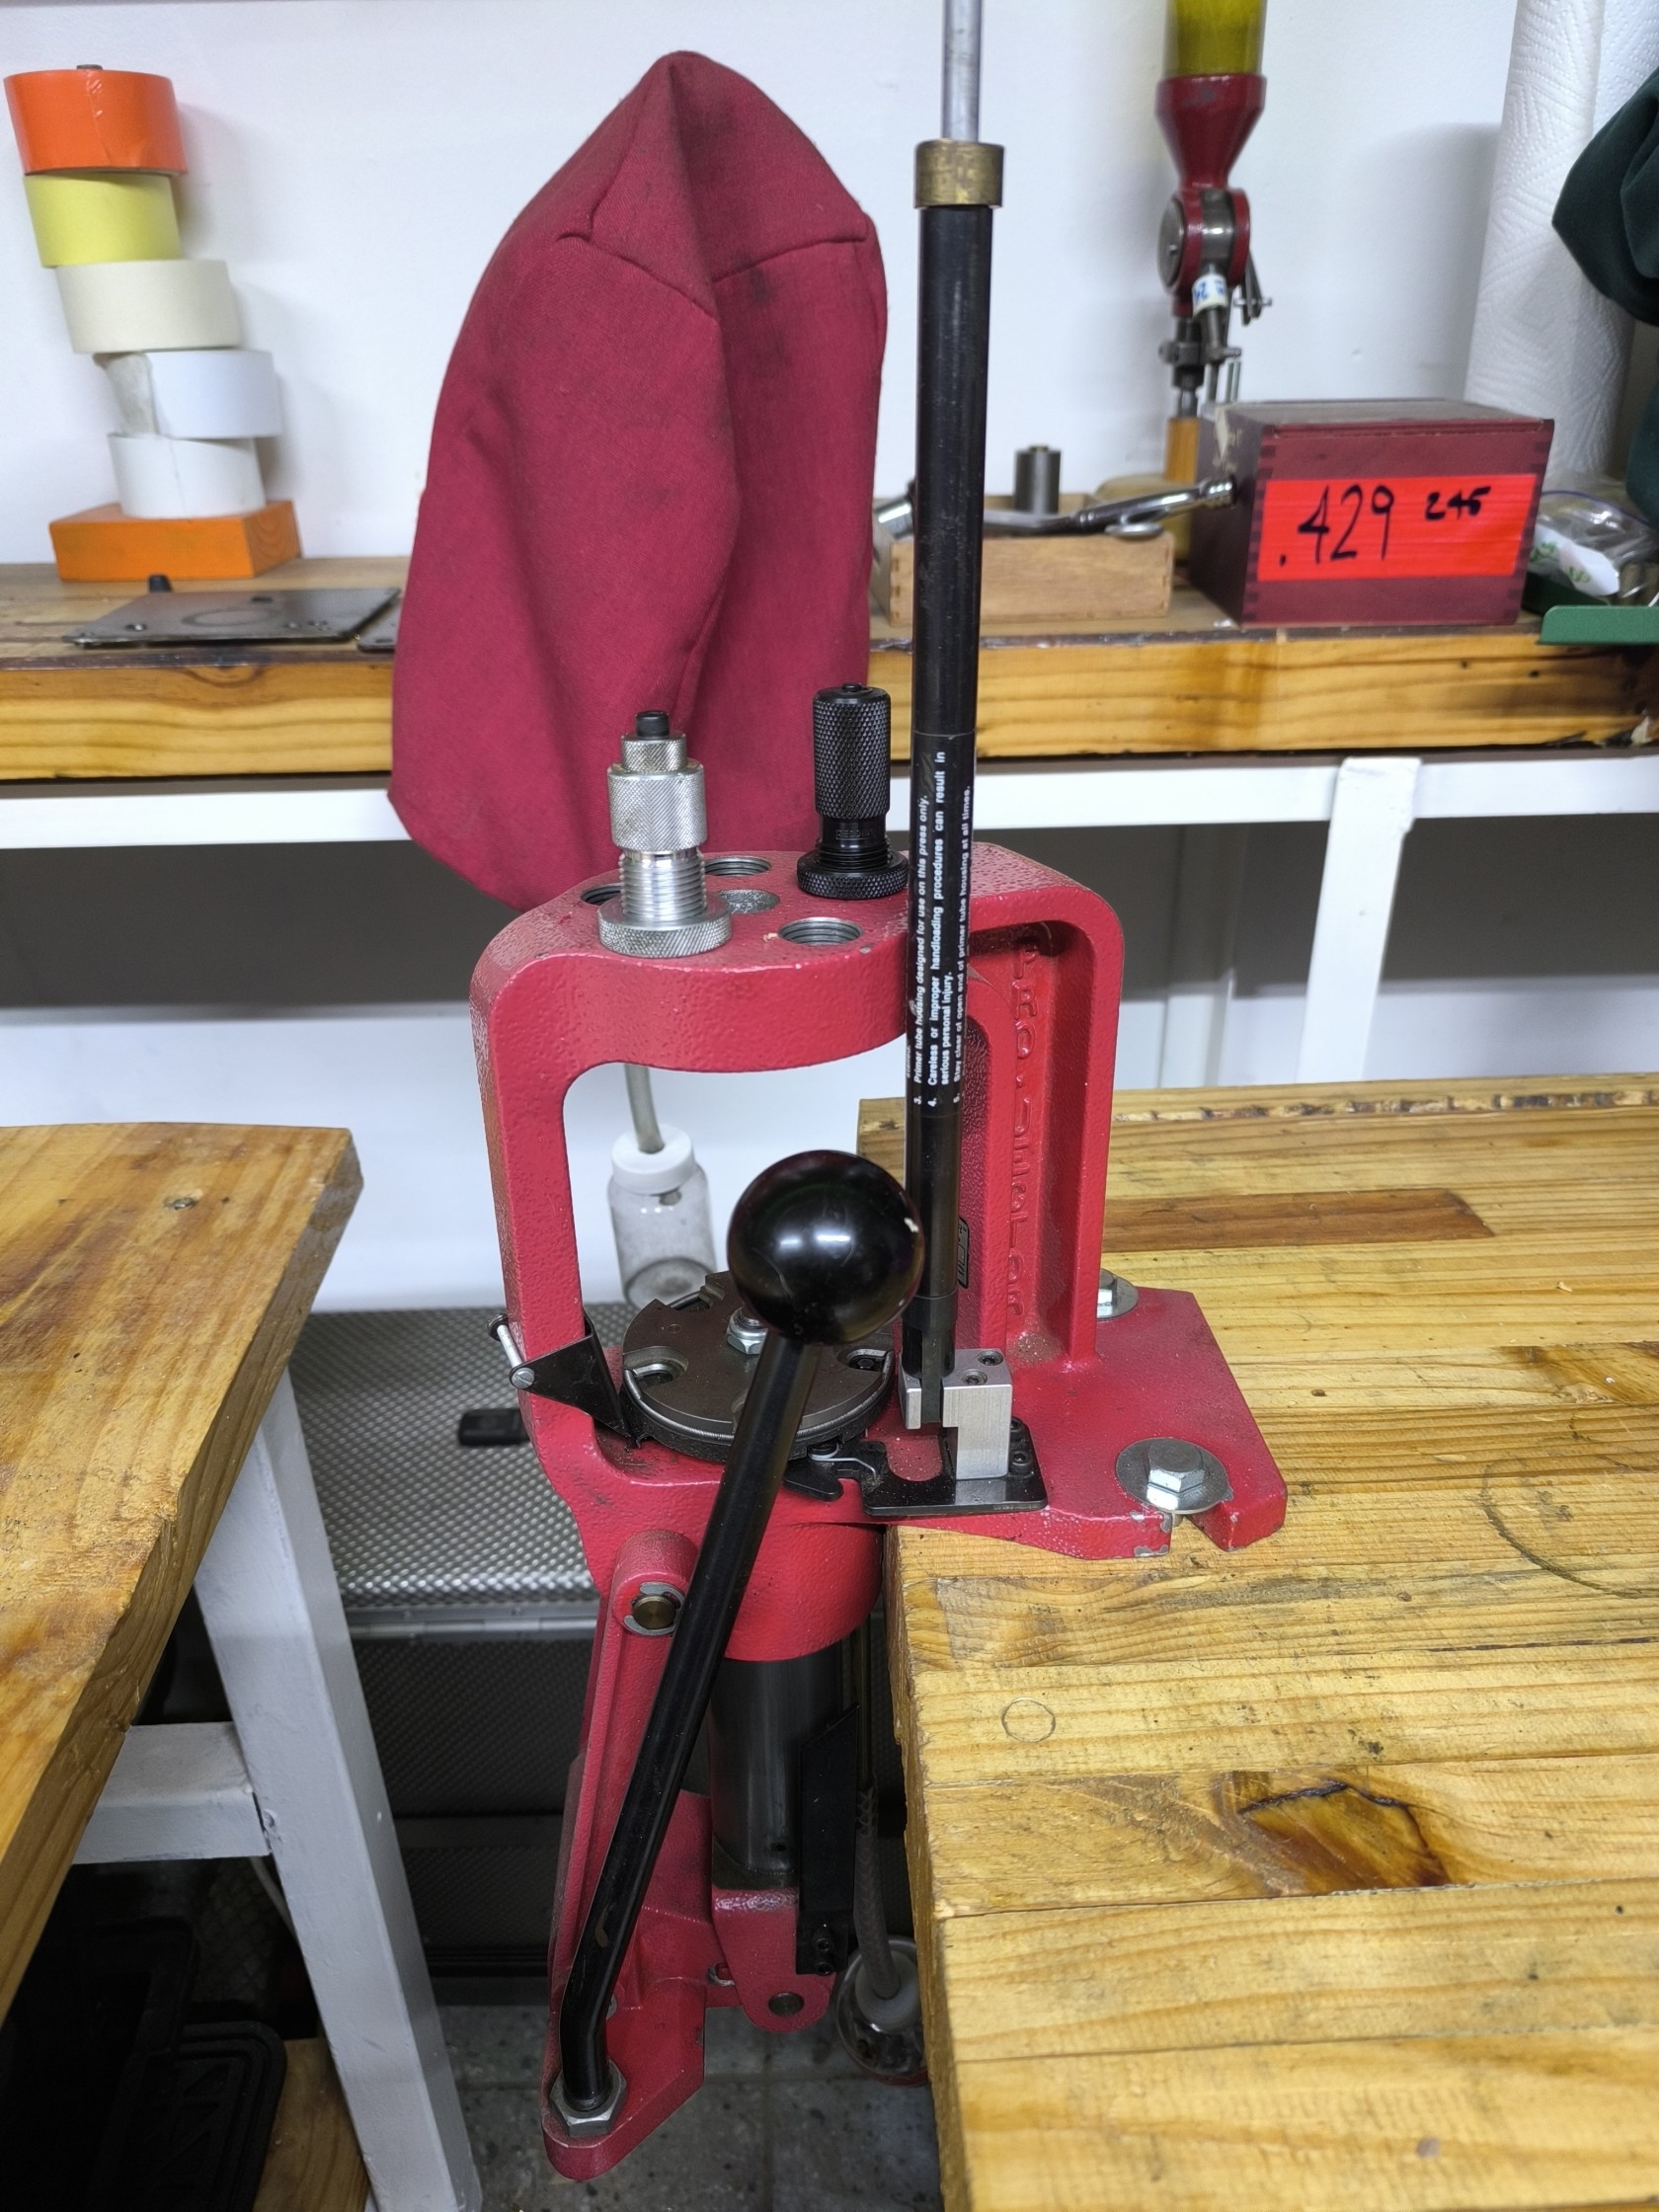
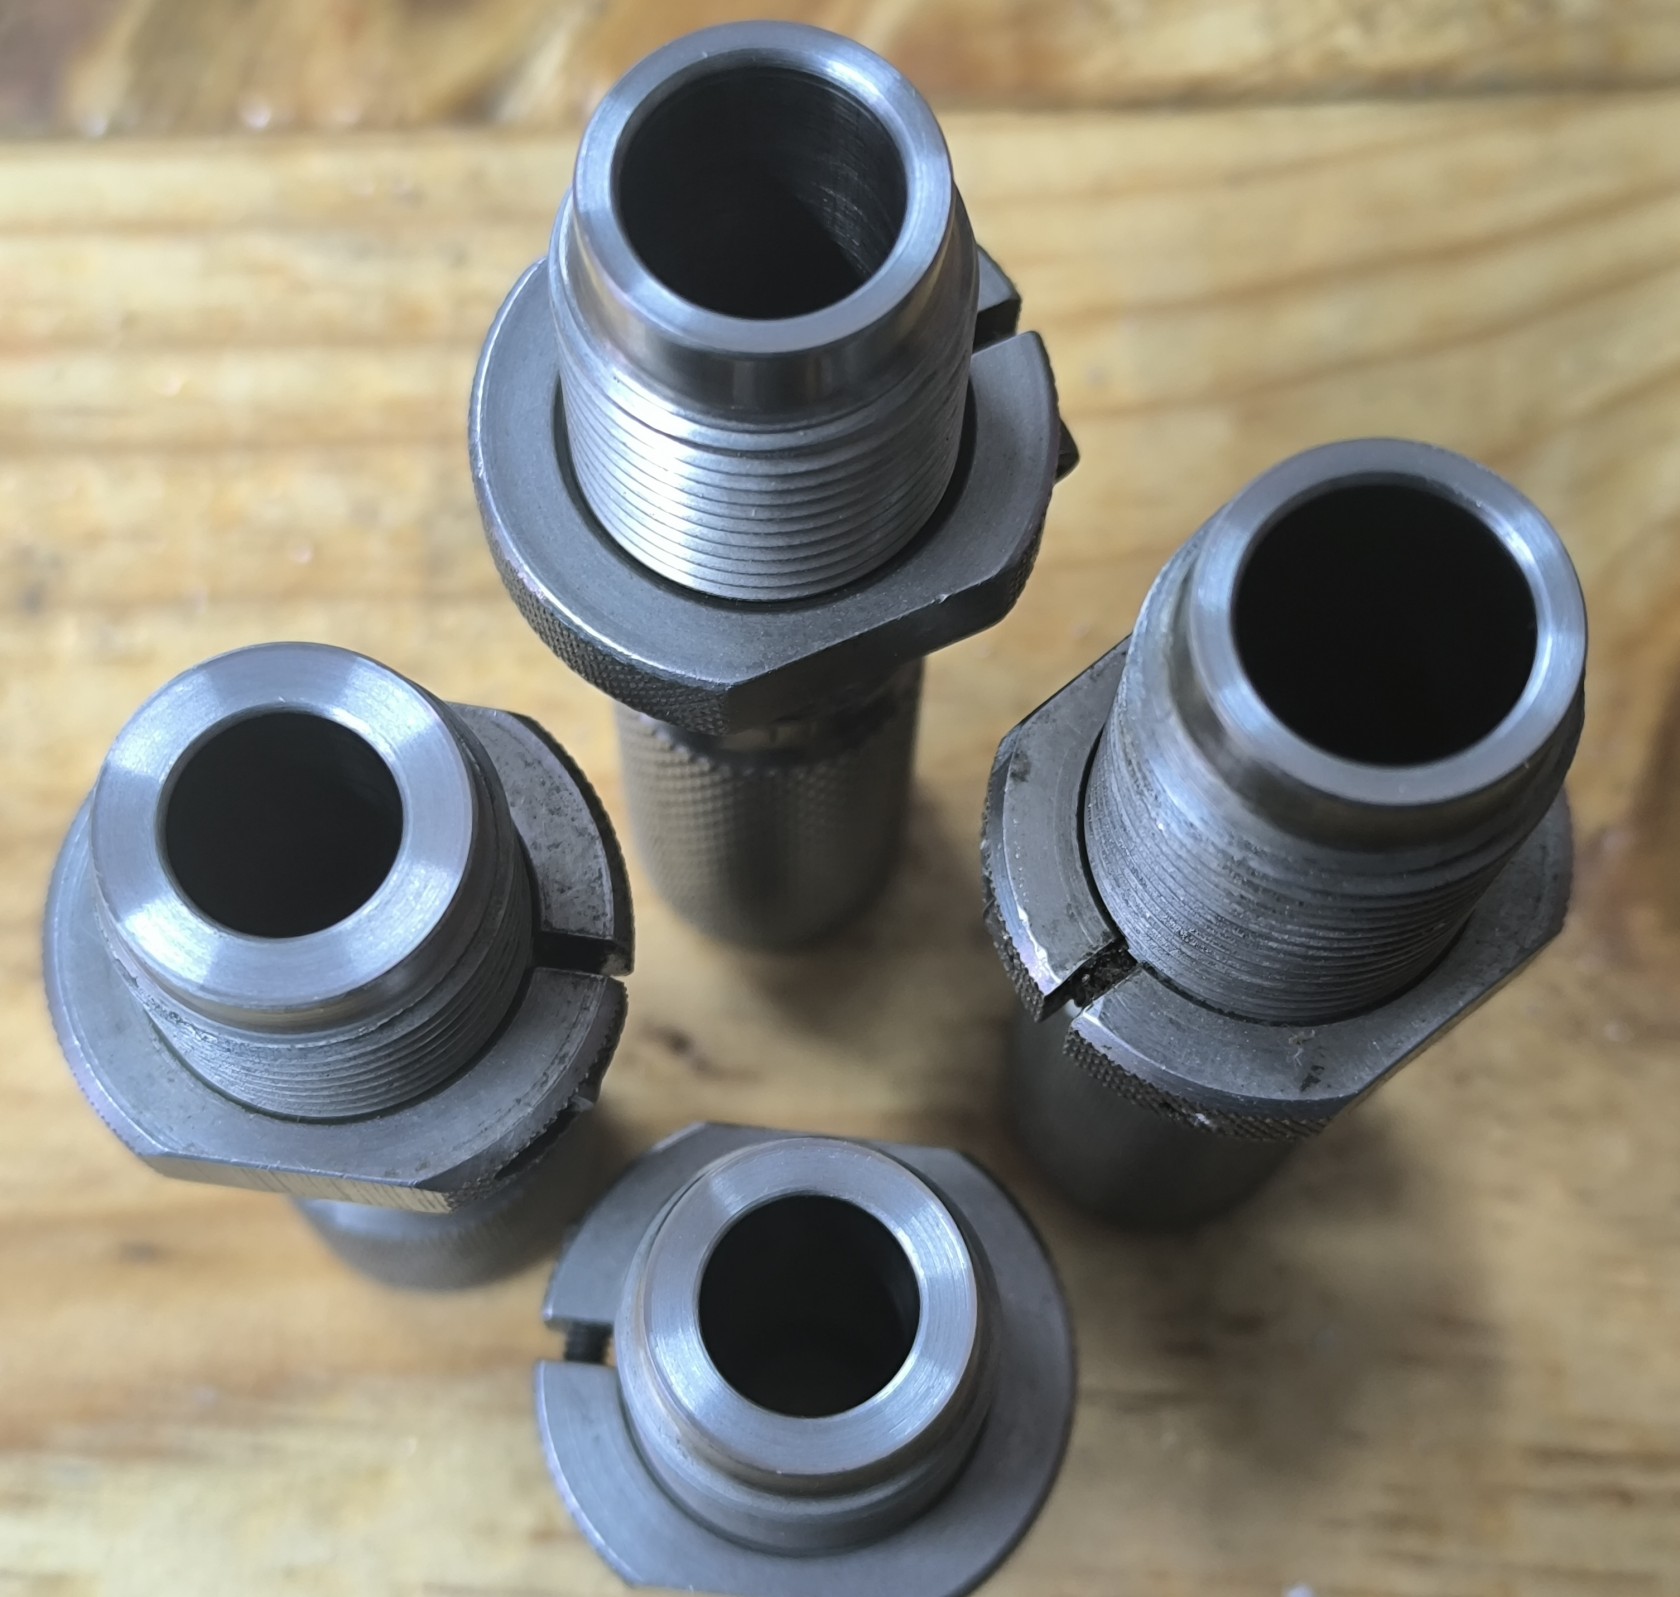
So far this is where it's at, the sizing dies are not back yet.
One has 308 shellplate, the other for magnum boltface.
Then the large primer assembly made form a bolt and a 22LR case.
Posted : 04/11/2025 11:30 am
Topic starter
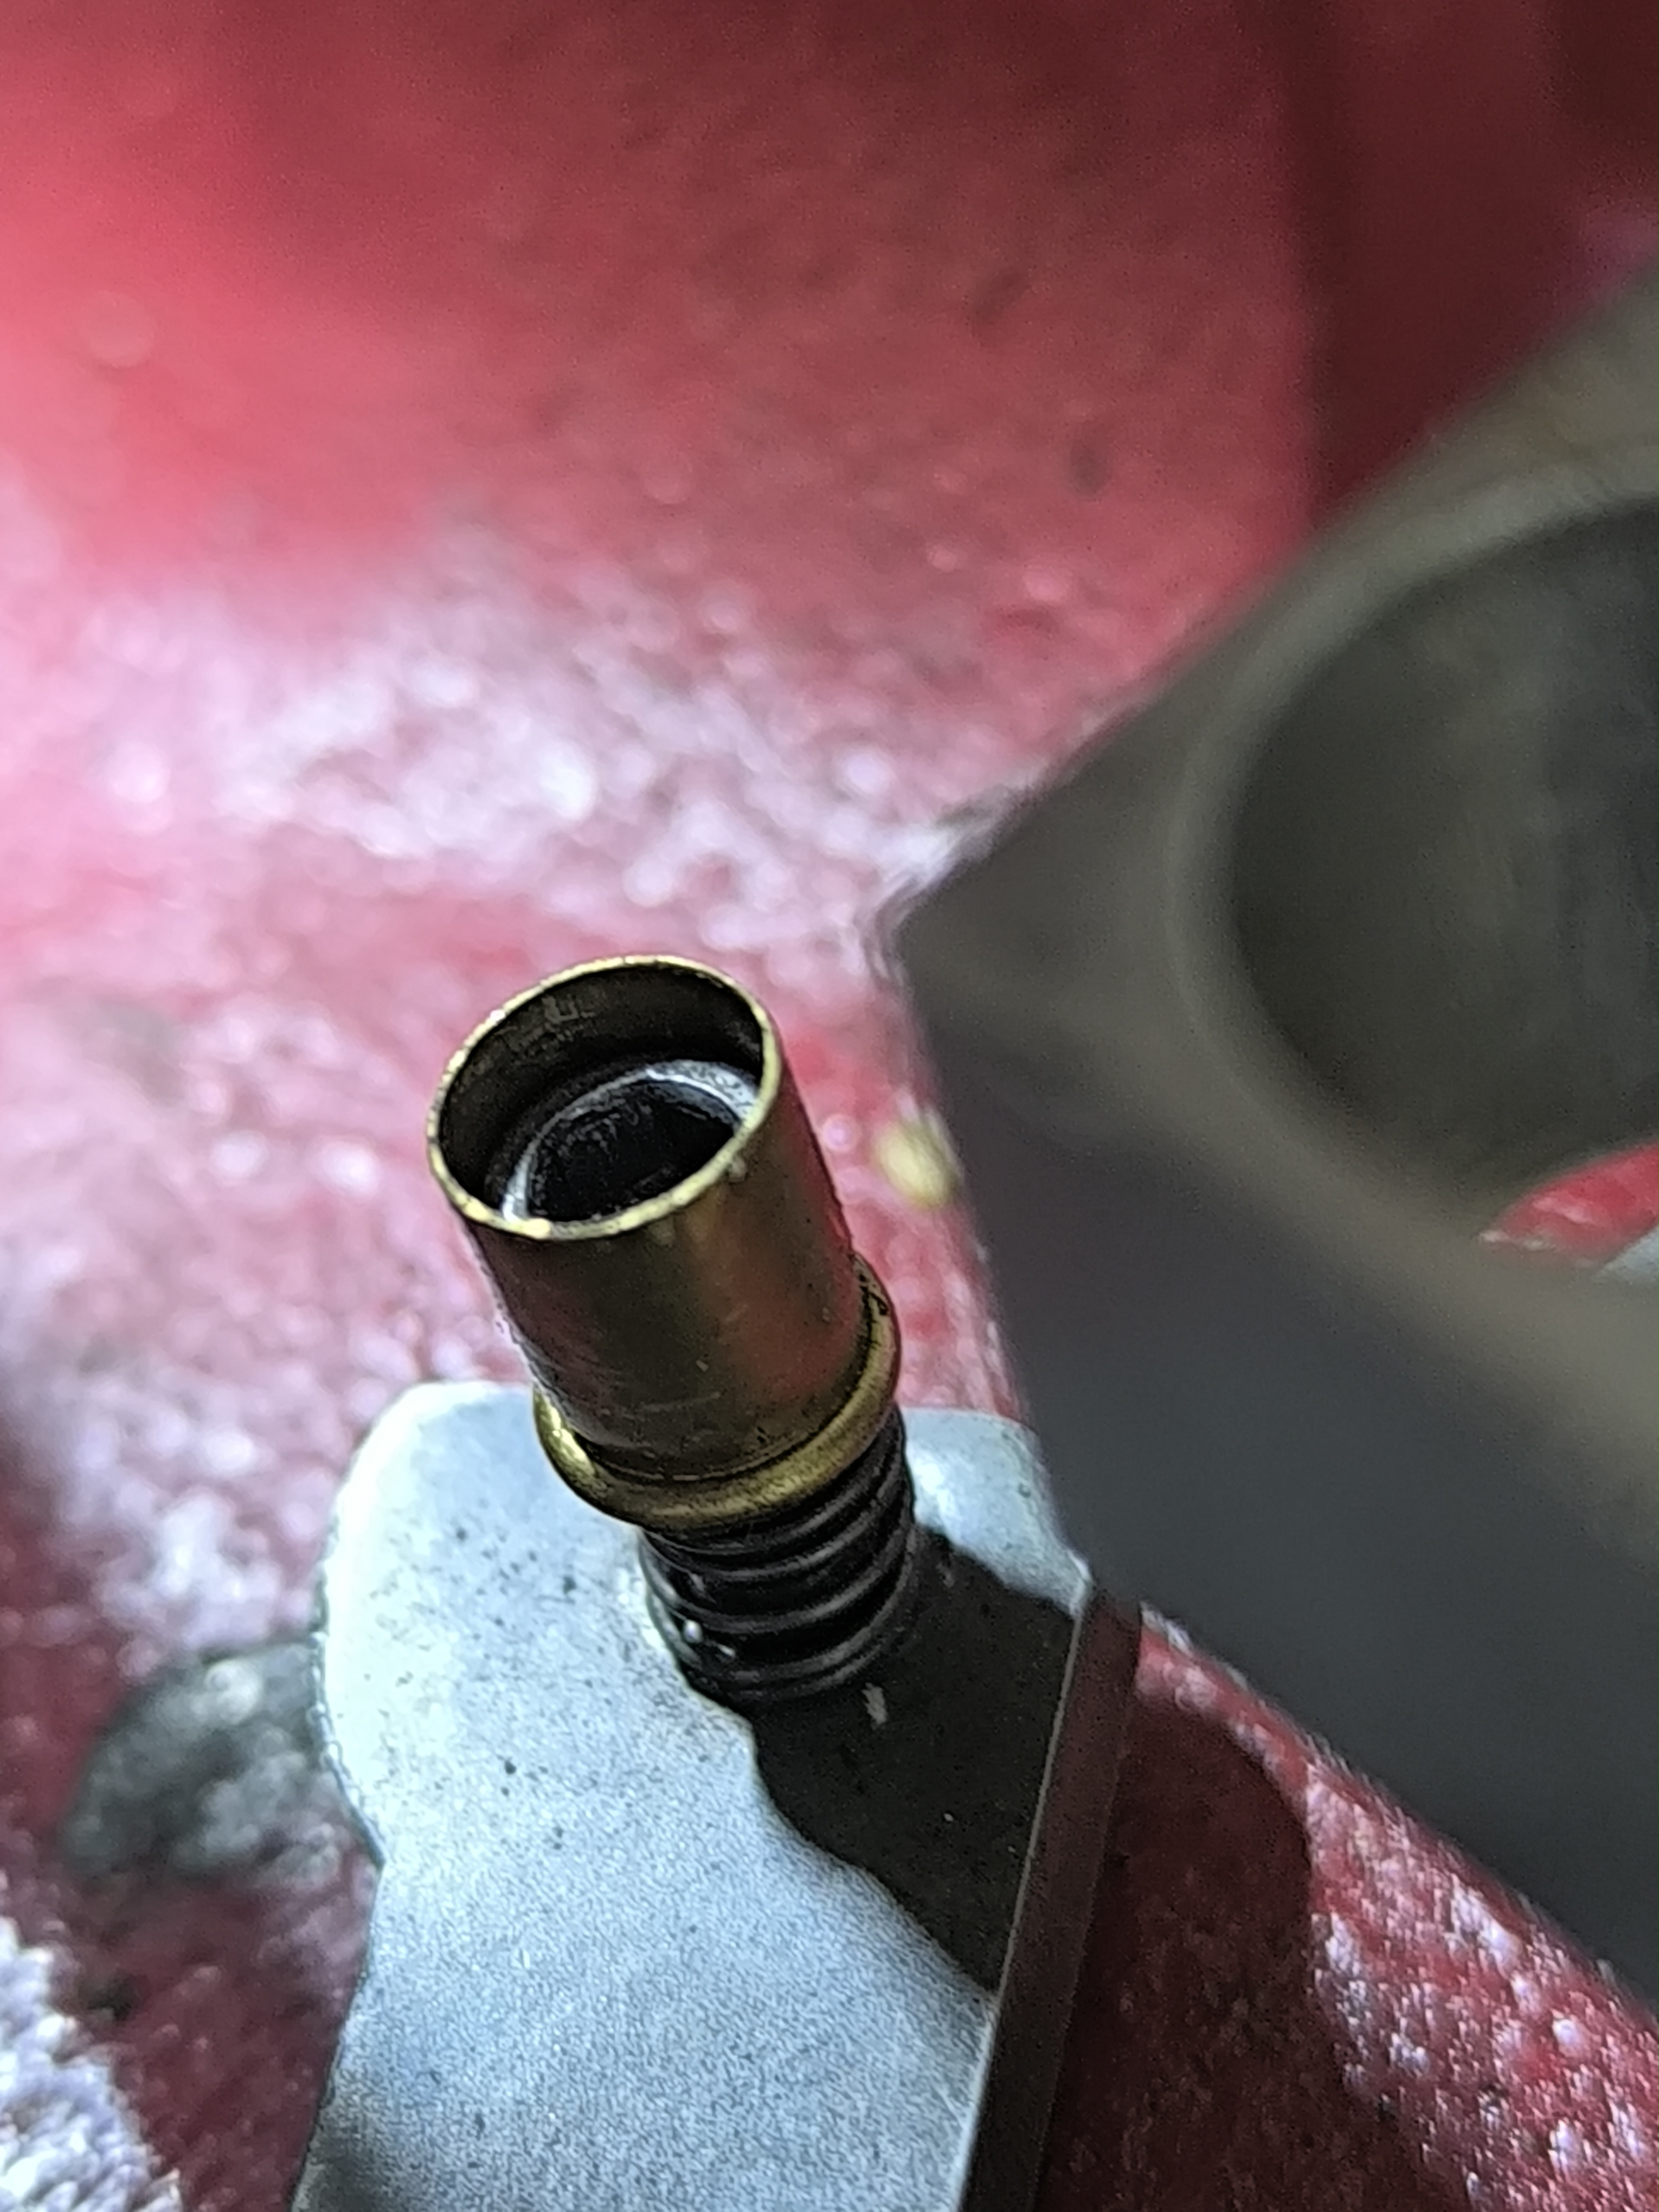
How the primer punch depth adjustment can be fixed.
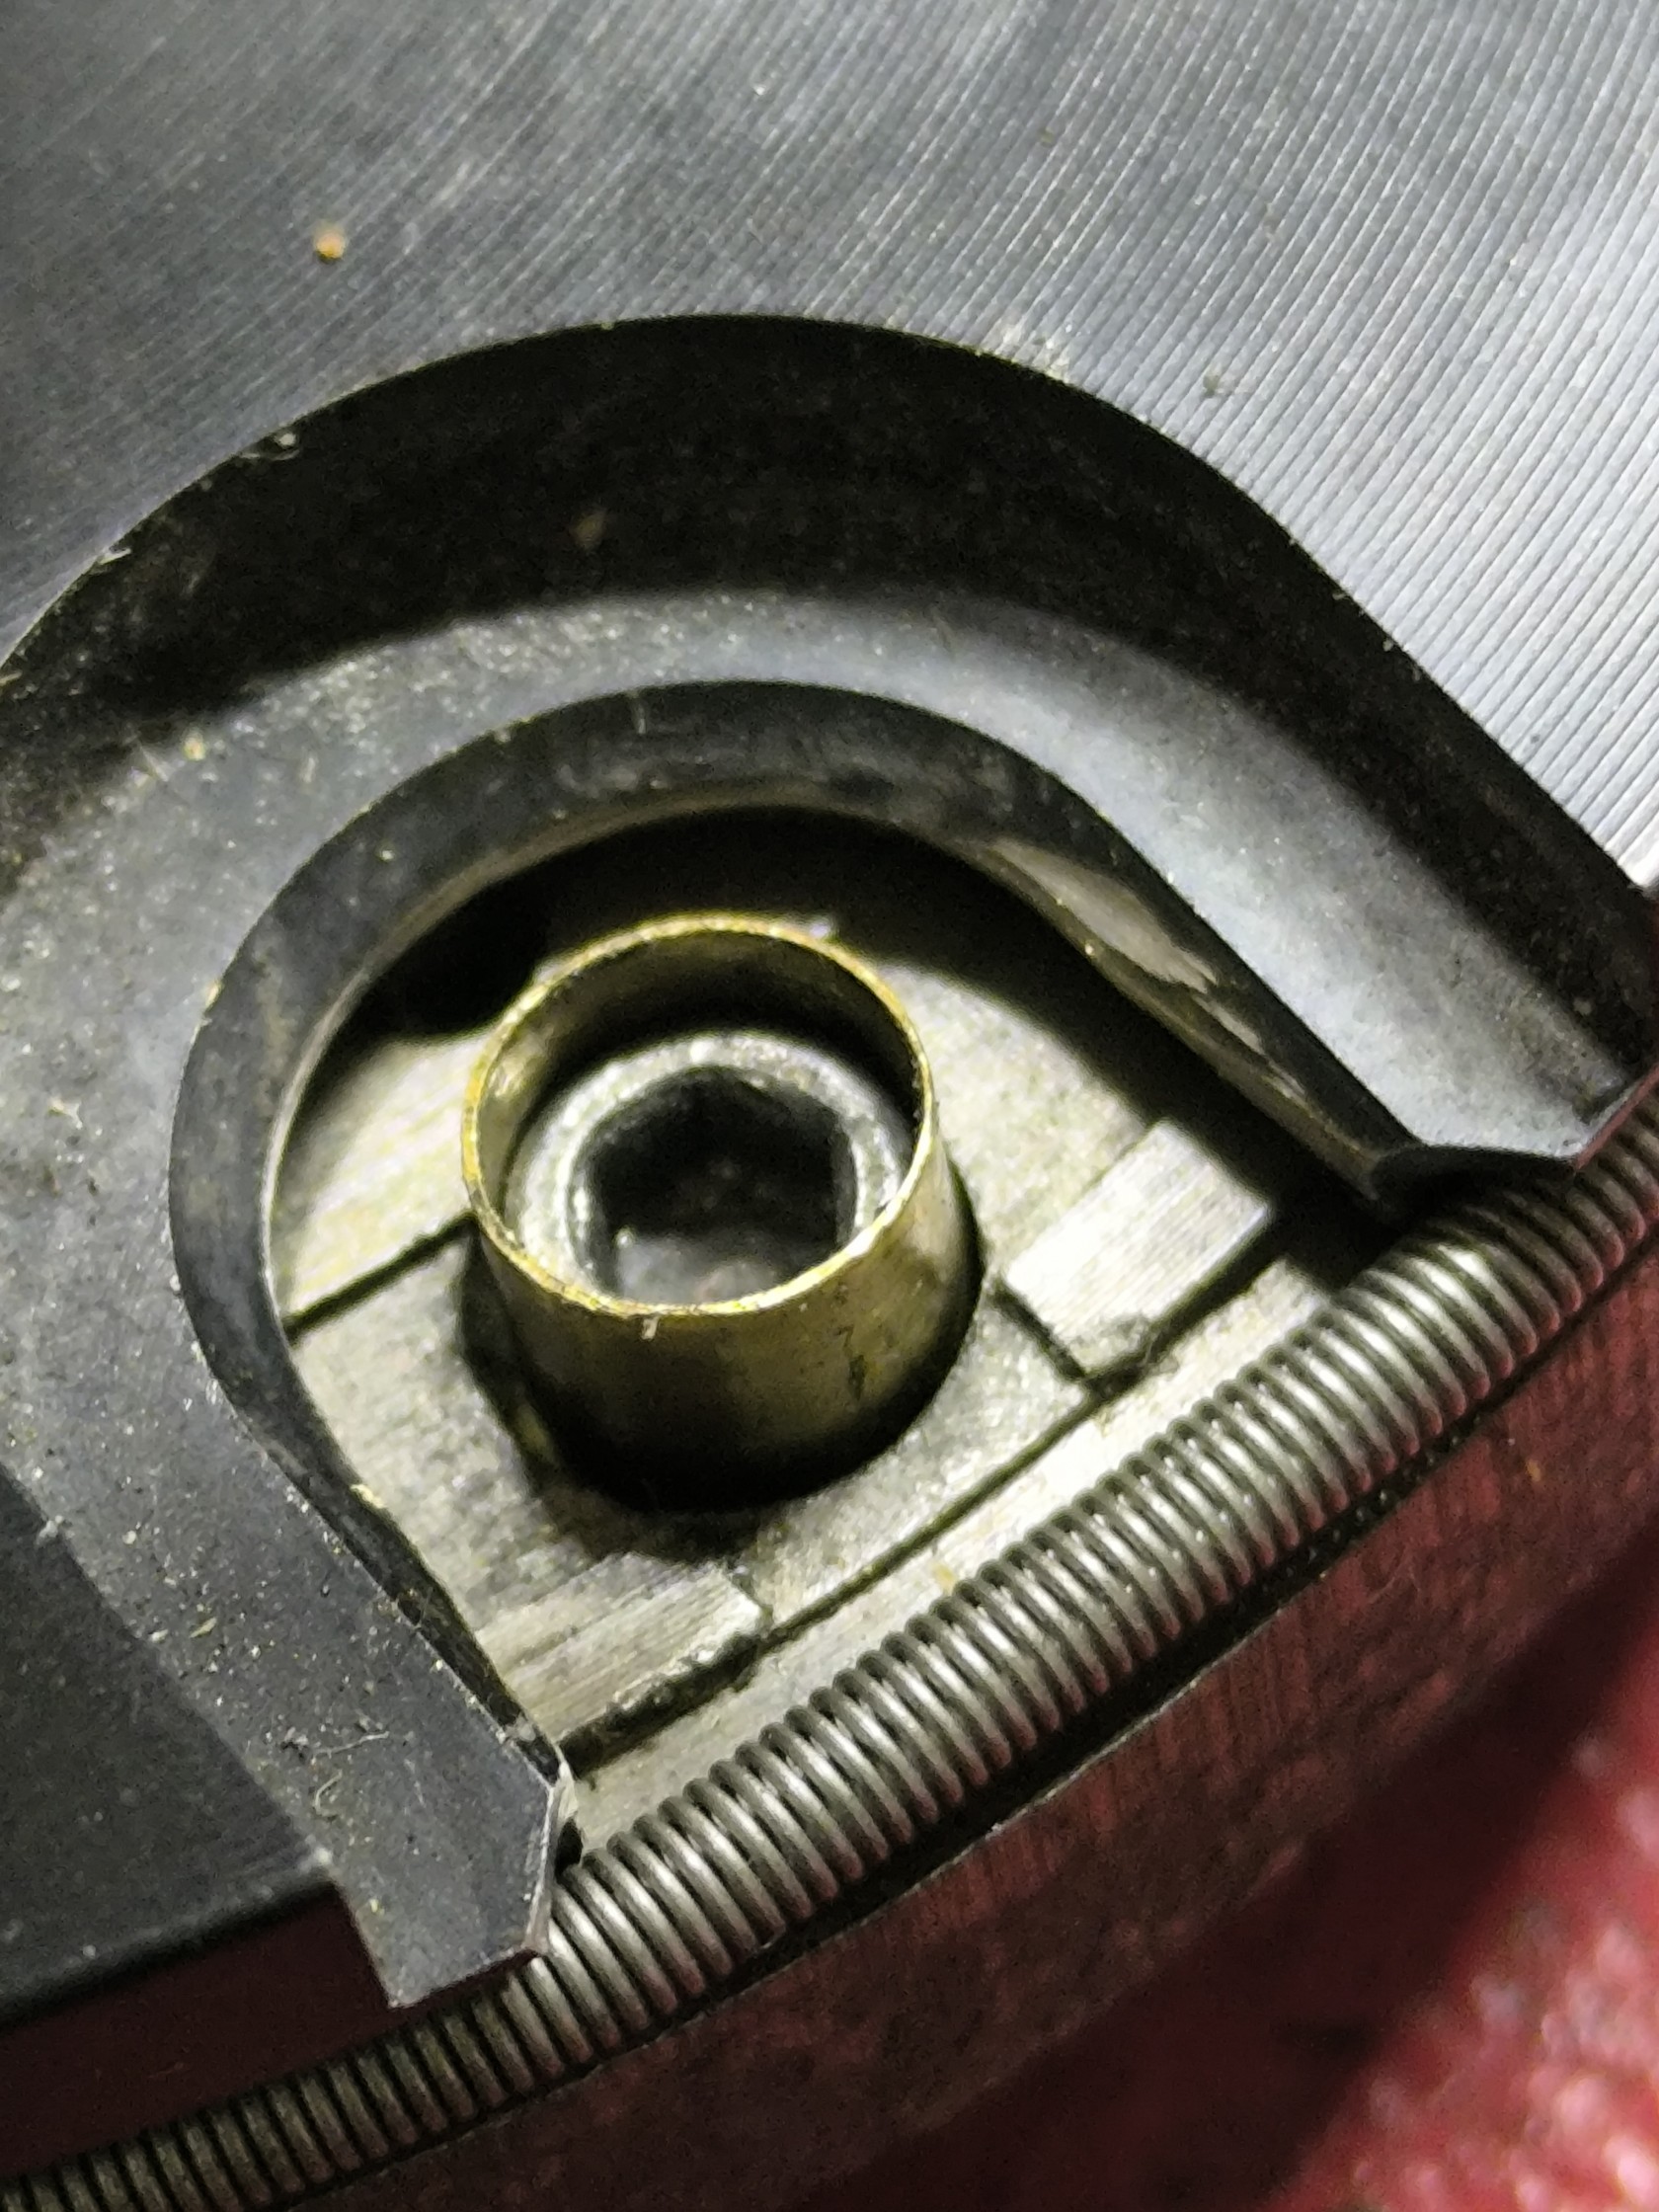
And the grinding that was done to get the cases to all fit into the shellplate.

Posted : 04/11/2025 11:34 am
Very nice stout looking press as you'd expect from Hornady. I particularly like the spring tensioner in the shell plate case recess.
Posted : 04/11/2025 7:57 pm
I screwed up a good needle file doeing the same on a Loadmaster shellplate for .308. 2 of the 5 stations did not feed well and caused stoppages.
Posted : 04/11/2025 8:09 pm
Topic starter
I screwed up a good needle file doeing the same on a Loadmaster shellplate for .308. 2 of the 5 stations did not feed well and caused stoppages.
I considered using Loadmasters for case prep, the durability was a question in my mind, and on-press priming was a no-no. I owned several LM presses at one point in time, so I am very familiar with them.
If I had sold these back when I intended to, now I would choose a Dillon 550 to do the job.
Posted : 04/11/2025 11:19 pm
Topic starter
I got the shortened dies back, will set them up this week.
Posted : 22/11/2025 8:15 am
I got the shortened dies back, will set them up this week.
****************************
Thats a hard material, tried to cut a die shorter myself ;D ;D
I am who I am - I am not who you want me to be.
Therefore I am me.
Posted : 23/11/2025 5:32 am
What would the method be to cut, shorten such an die?
Posted : 09/12/2025 9:44 am
What would the method be to cut, shorten such an die?
Electric wire cutting
Grinding
Laser?
Waterjet
Posted : 10/12/2025 6:17 am
Topic starter
Best have it cut on a lathe, If you in a hurry, a rubber backed sanding wheel on a 115mm grinder does the job.
Hold it lightly against the disk for short periods till enough is removed.
A cone grinder of the right diameter in a cordless drill will polish the inside edge of the die mouth.
Posted : 10/12/2025 9:43 am